Showing posts with label Etched. Show all posts

Tuesday, January 24, 2012

How To Etch Ceramic Pendants and Beads...

I've been trying to figure out how to make the most out of what I've got.
How do you make something new out of what is already in existence?
What I've got is a lot of porcelain pendants.
And these pieces above have all now been etched.

What is etching? I wondered the same thing...
Years ago I was talking to my friend Nikki (Thornburg Bead Studio) about how she got that awesome satin matte finish on some of her glass beads - the ones that I was completely drawn to more than any other bead.
We were both selling our work at a bead show, and I think the conversation was something along the lines of me asking novice questions like:
"What kind of glass is that? The one that has a satin matte etched finish?" 
Then she politely giggled as always and explained that it was an extra step she took after creating the beads to remove the glossy glass finish. 
She used a liquid glass etch (Etch All) to get that finish on some of her beads.
Update: Check out the bottle on this post.

I thought that since my pieces were glazed - and glaze contains silica (glass) - I should be able to etch my glazed pieces...
So I ordered the Dip 'n etch etching solution, etched pieces, but was a bit occupied traveling selling my work at bead shows at the time to really spend a lot of time in the studio experimenting, so I put it up on the shelf.
(still can't find that original bottle - it's in a box in the studio somewhere!)
Marsha Neal Studio Newly Etched Butterfly and Bat Pendants.
This time I was really ready to experiment and play with it (no show pressure this time).
I followed the directions on the bottle and soon figured out that my glazes would take a lot longer than a few minutes to get the look I wanted (this took lots of testing and keeping track of time - 15 minutes give or take depending on the actual glaze).
Marsha Neal Studio reenactment of rinsing etched pendants.
After the 15 minutes was up, I carefully emptied the etching solution back into the original bottle, then rinsed each piece at the sink. My pieces have a lot of texture so I used a green scrubby, the industrial kind, to clean each piece individually. 
Also, please note that I was wearing gloves during the entire process around the etching solution.
Always follow safety guidelines on bottle!
I remembered that I should be taking a photo after these were rinsed, and ran the water just to show the step...
Marsha Neal Studio Etched Pendants Tray 1
 After they were dried and inspected they were placed into trays so I could easily photograph them and get them ready for listing up in my Etsy shop (hoping to photograph them Tuesday & Wednesday) and do a shop update on Thursday.
Marsha Neal Studio Etched Pendants Tray 2
MNS Detail of cutout flowers & medium etched pendants.
Pin It
They all have this buttery rich satin matte finish to them.
The colors are so muted yet intense...
MNS detail of etched bats and butterfly pendants.
Pin It
Every time I hold one in my hand I can't help but want to squeal and covet it a bit more...
Marsha Neal Studio double sided Etched Nest Beads.
Marsha Neal Studio side view of etched nest bead.
Just wait...
You've got to get some of these to see how beautiful they are!
Marsha Neal Studio detail of etched shards and earring pairs.
Pin It
And of course - I had to etch some of these Halloween pieces.
It is like the missing link to what the finish needed on these not so scary spooky pendants.
Marsha Neal Studio Etched Halloween Pendants.
Pin It
So what do you think?
Do you like them?
Do you want to use them or just hold onto them?

If you want to receive notice about my Etsy shop update & receive a newsletter only coupon code, sign up to receive my email newsletter
My MarshaNealStudio Facebook Fans get 10% off retail in my Etsy shop at any time with their special coupon code: FaceBookFan10 (but you've got to be a fan to use it).

Wish me luck with getting things pulled together after over a week off
(we needed some extra family fun time together - too much crazy going on in the last year).

There is so much to catch up with - I'm going in every direction.
To Do lists that last for days - but soon it will all get done...

Wednesday, January 11, 2012

Etched Beads and Backwards Hop Scotch...

In between meetings in the last couple of days,
I've been going on a bit of an etching binge...
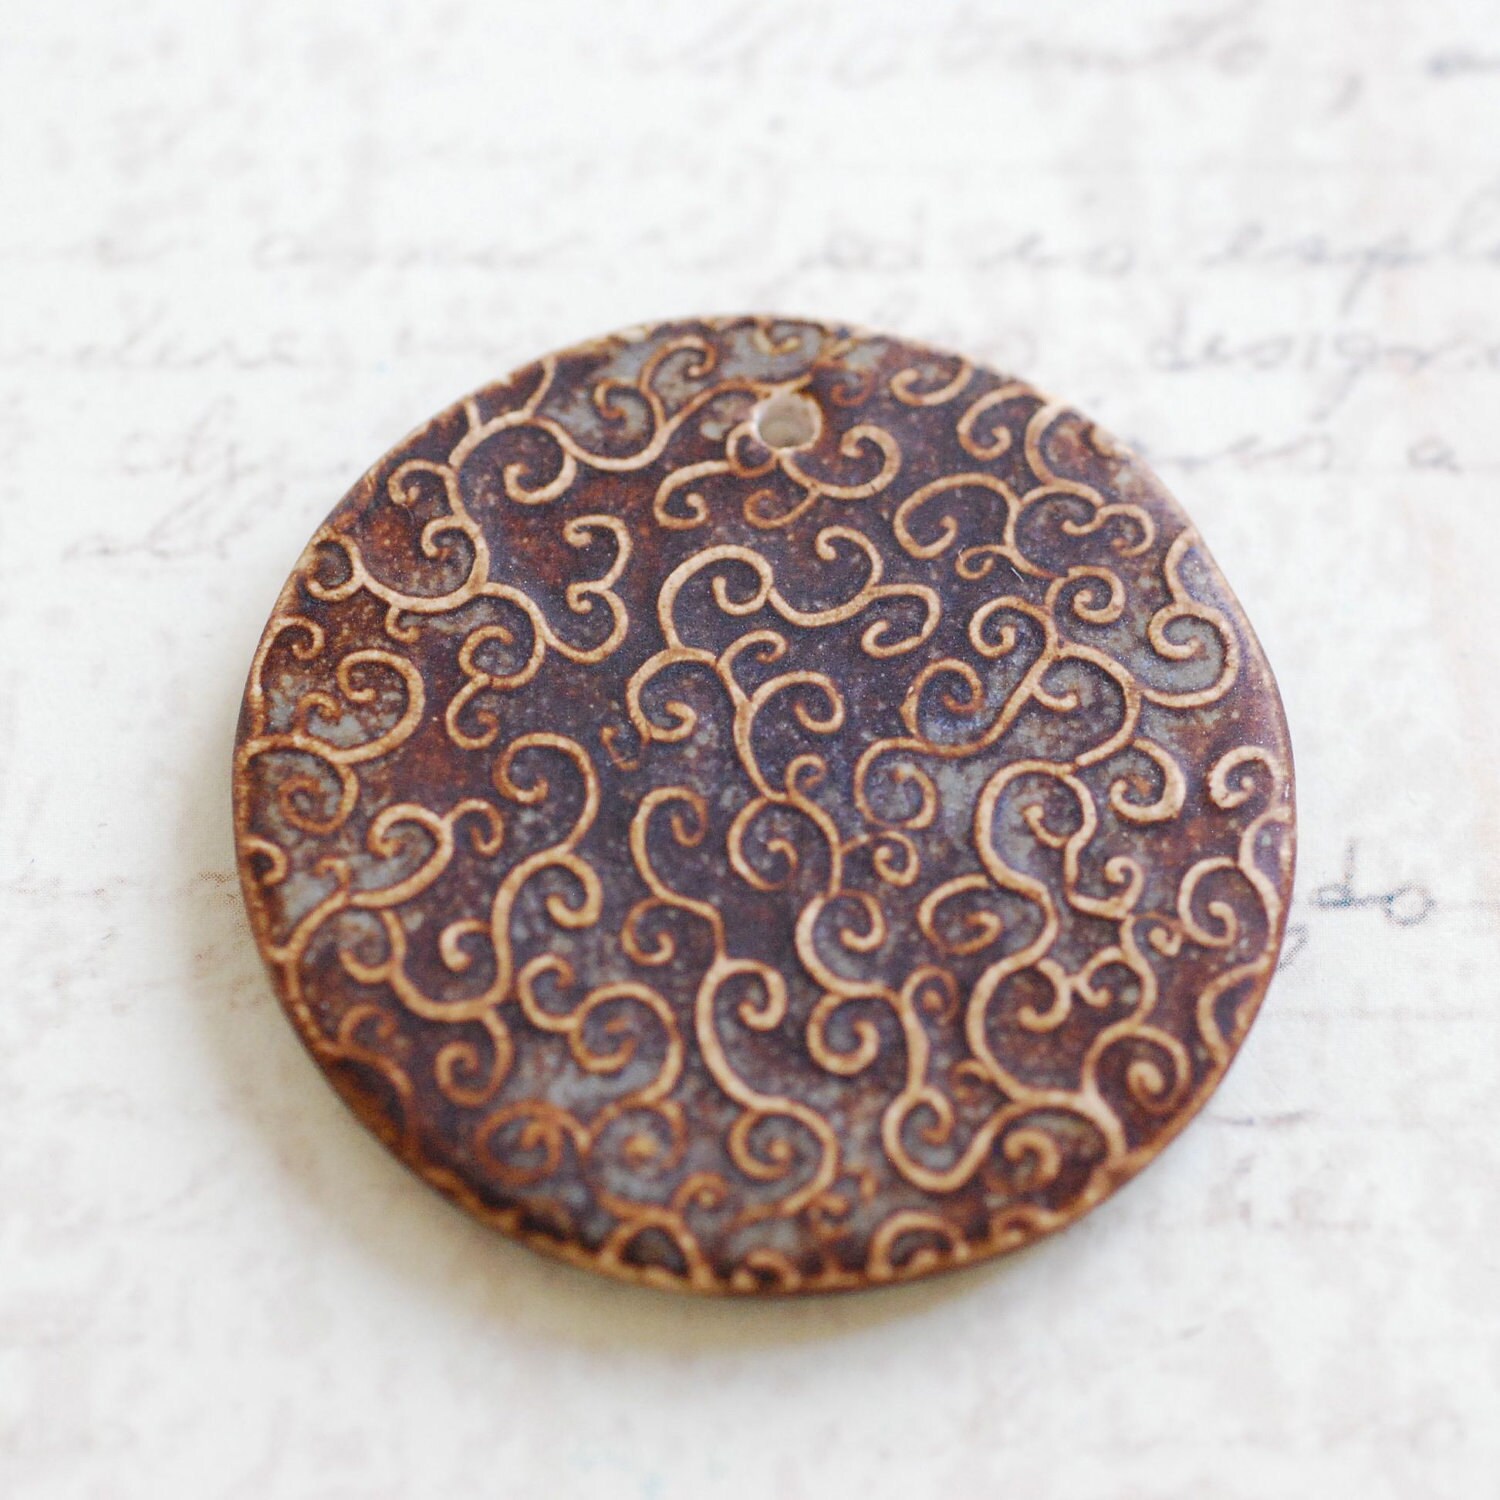
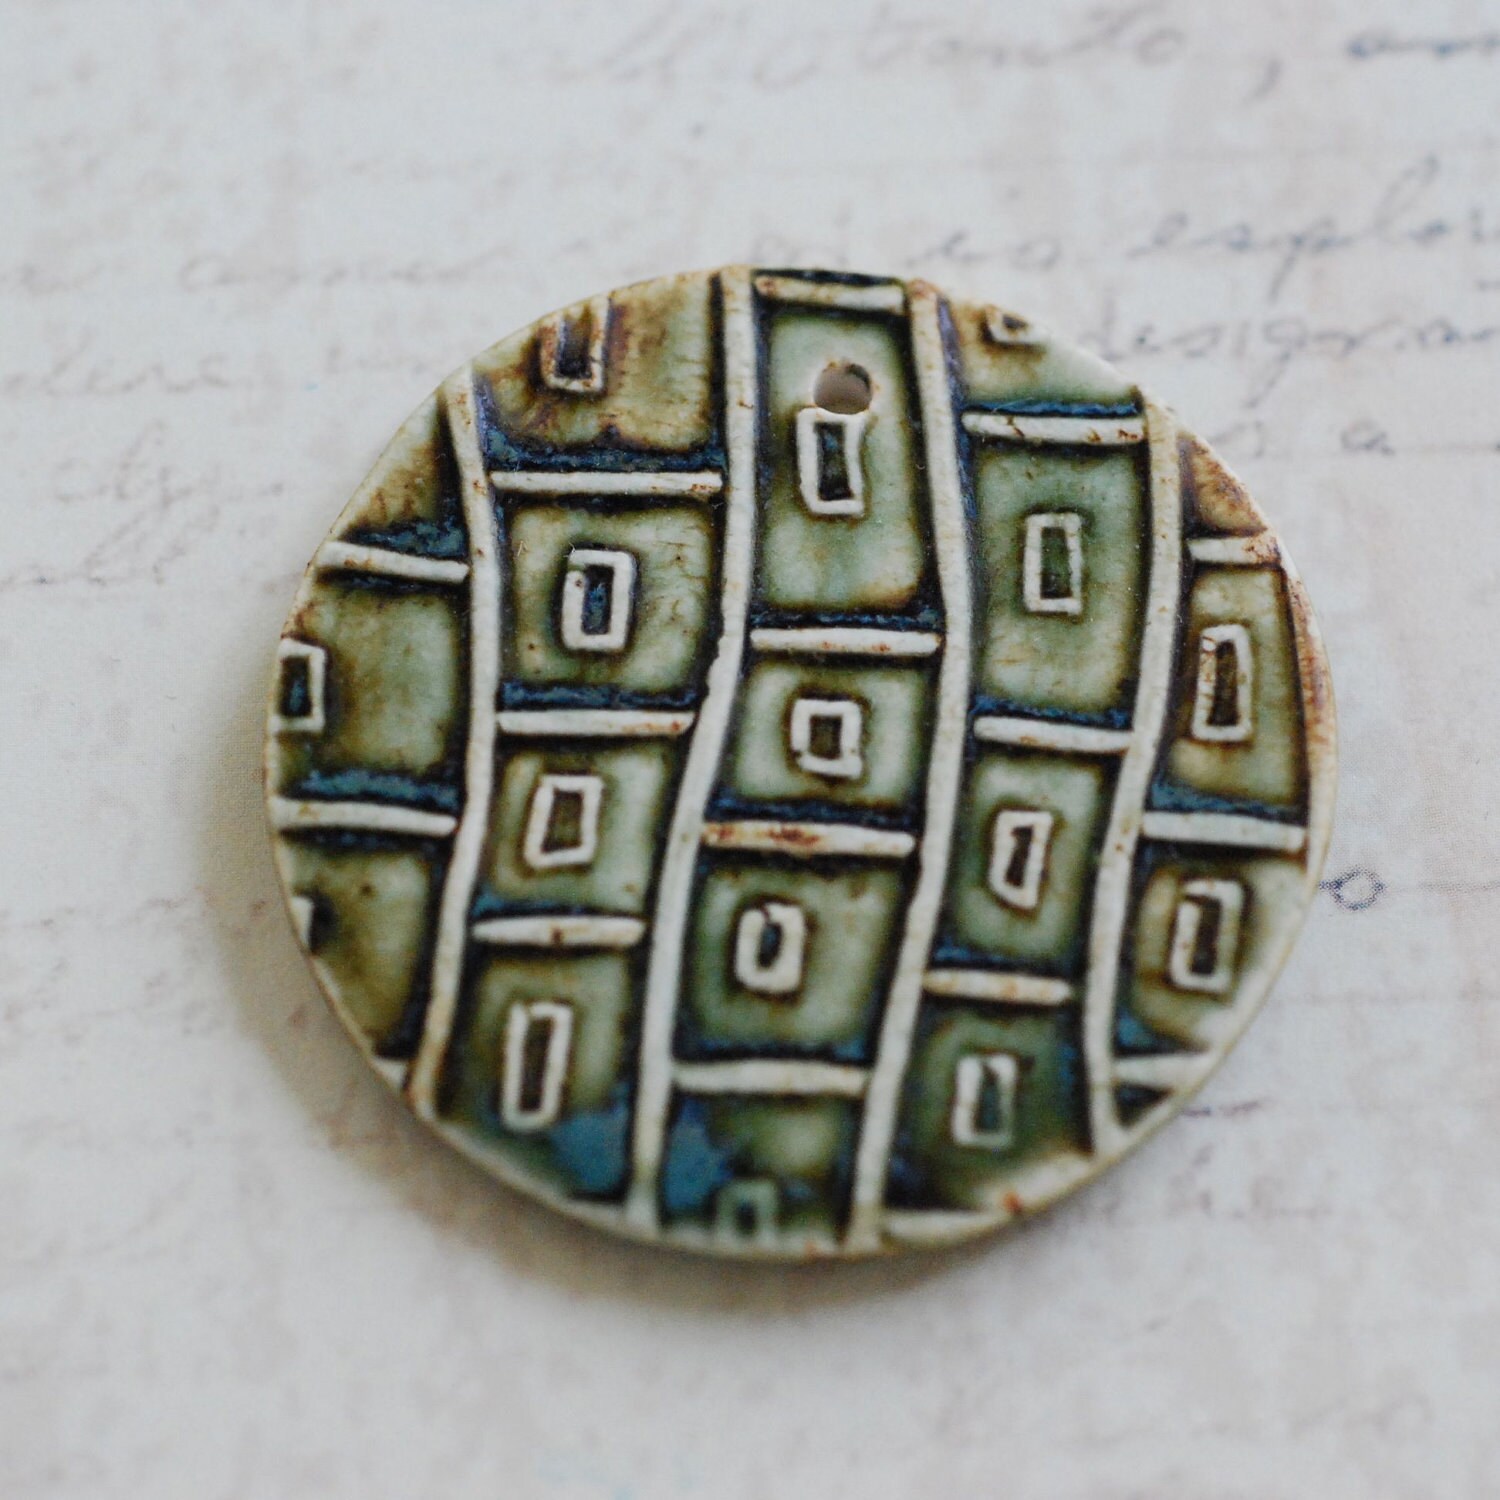
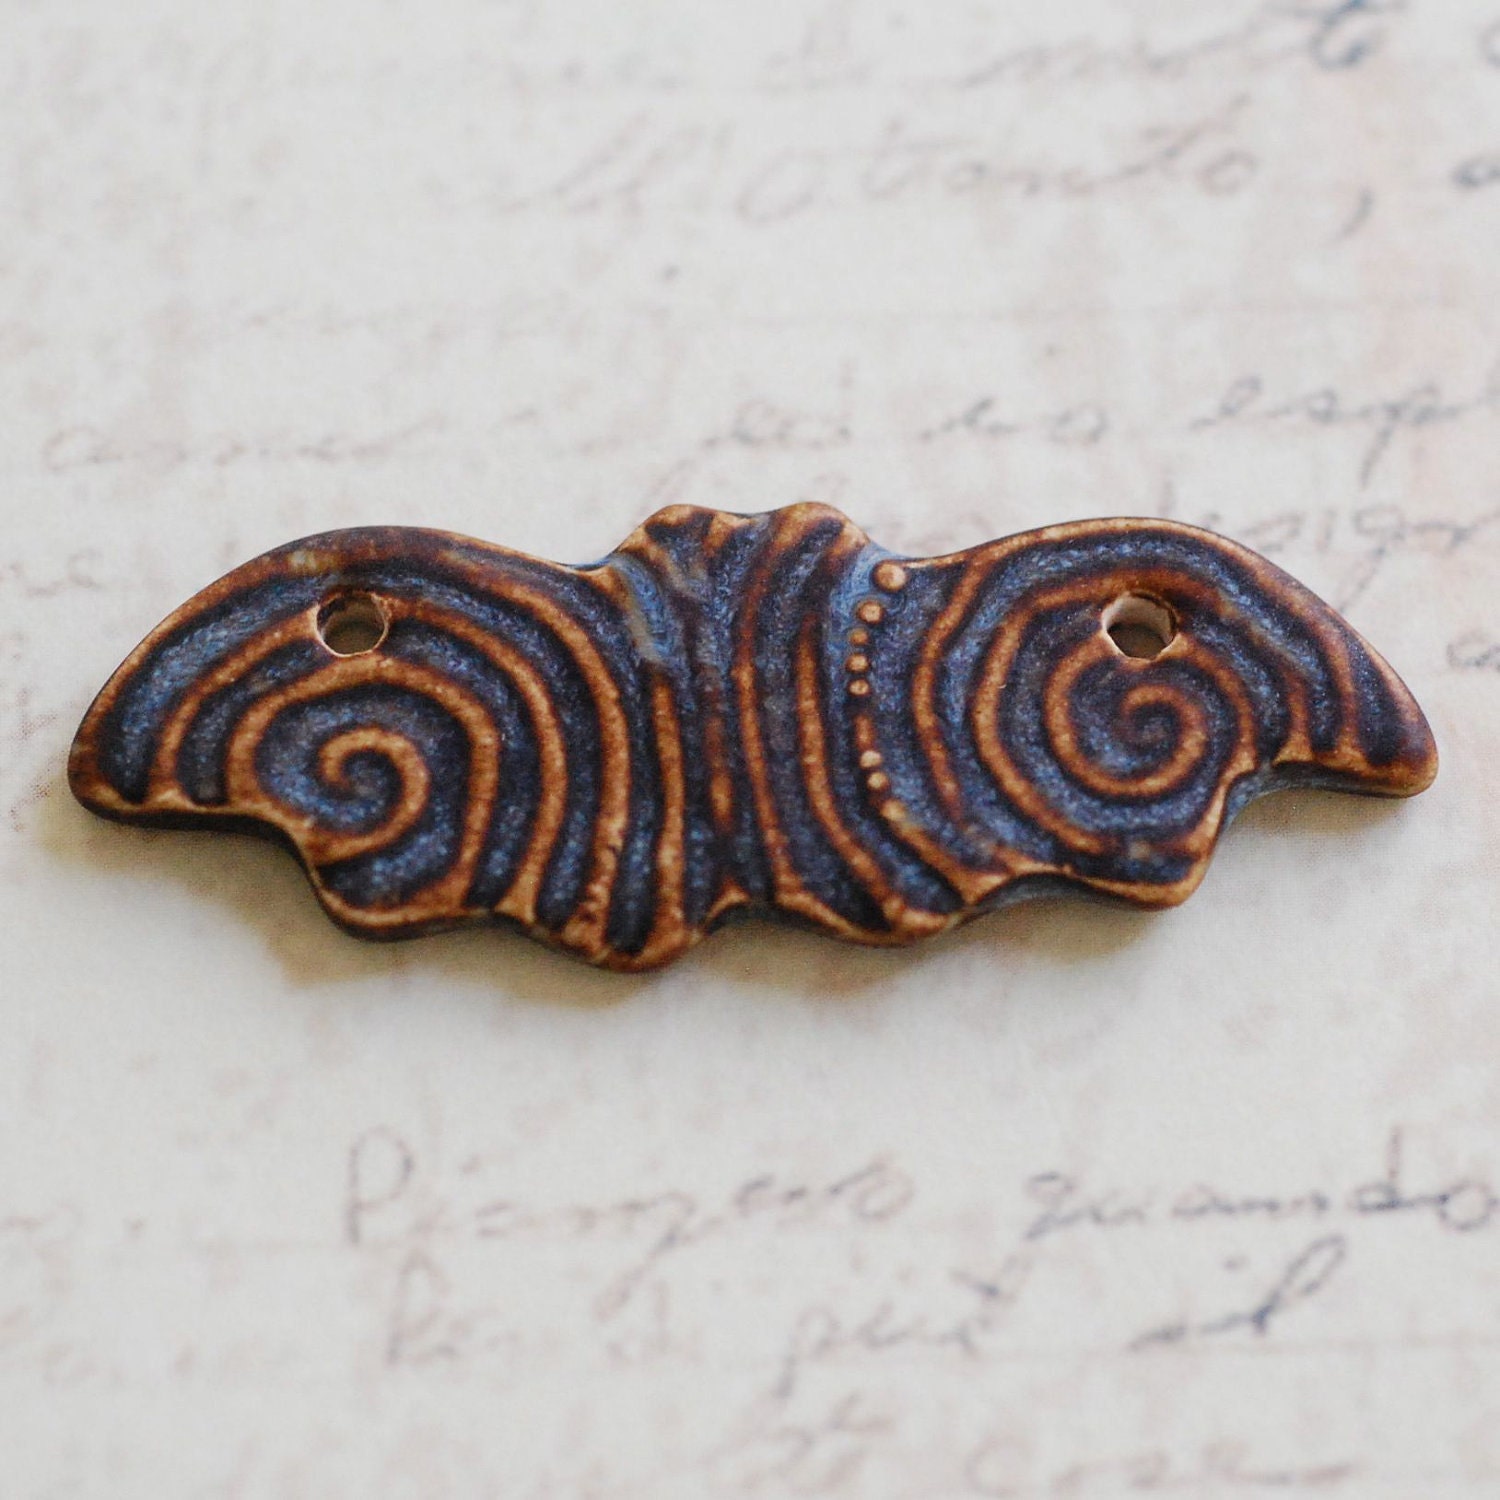
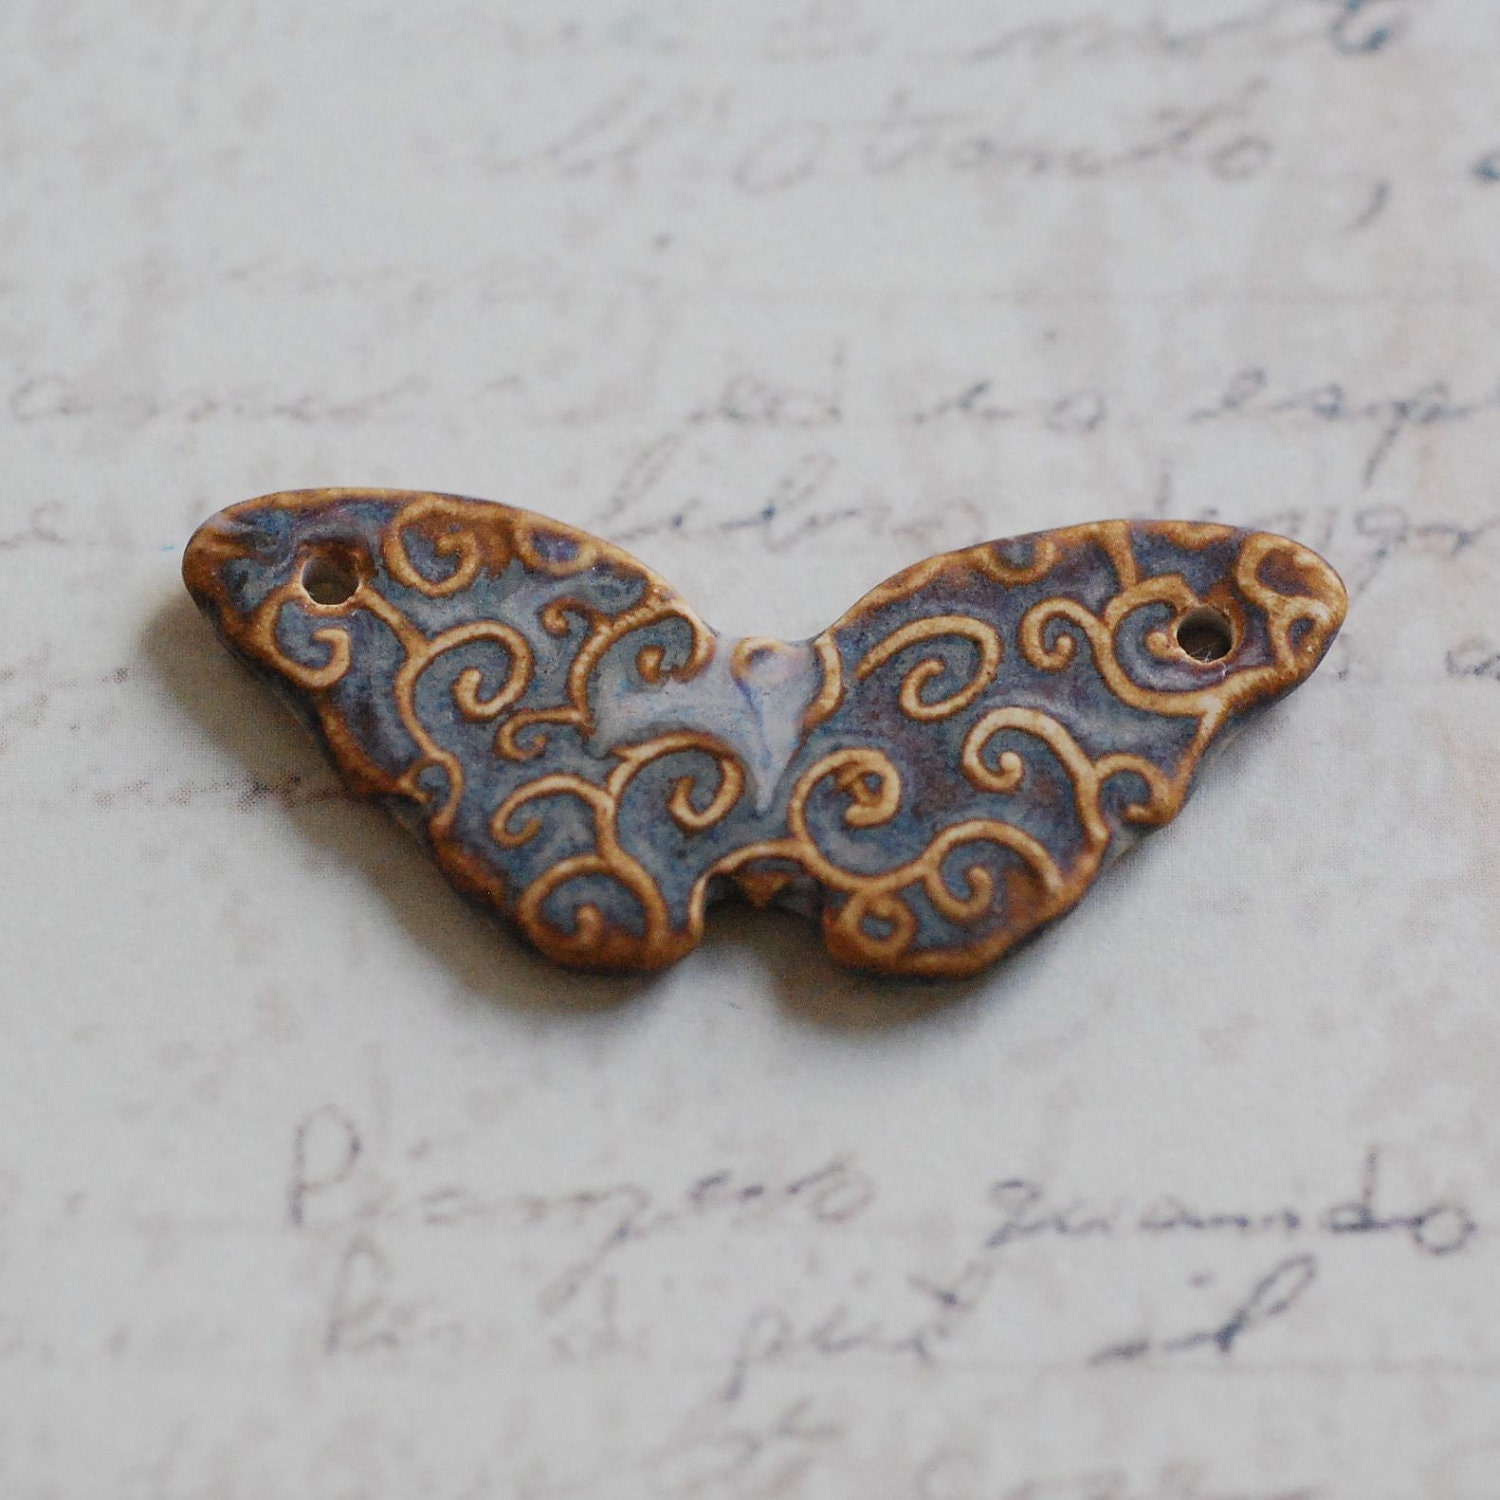
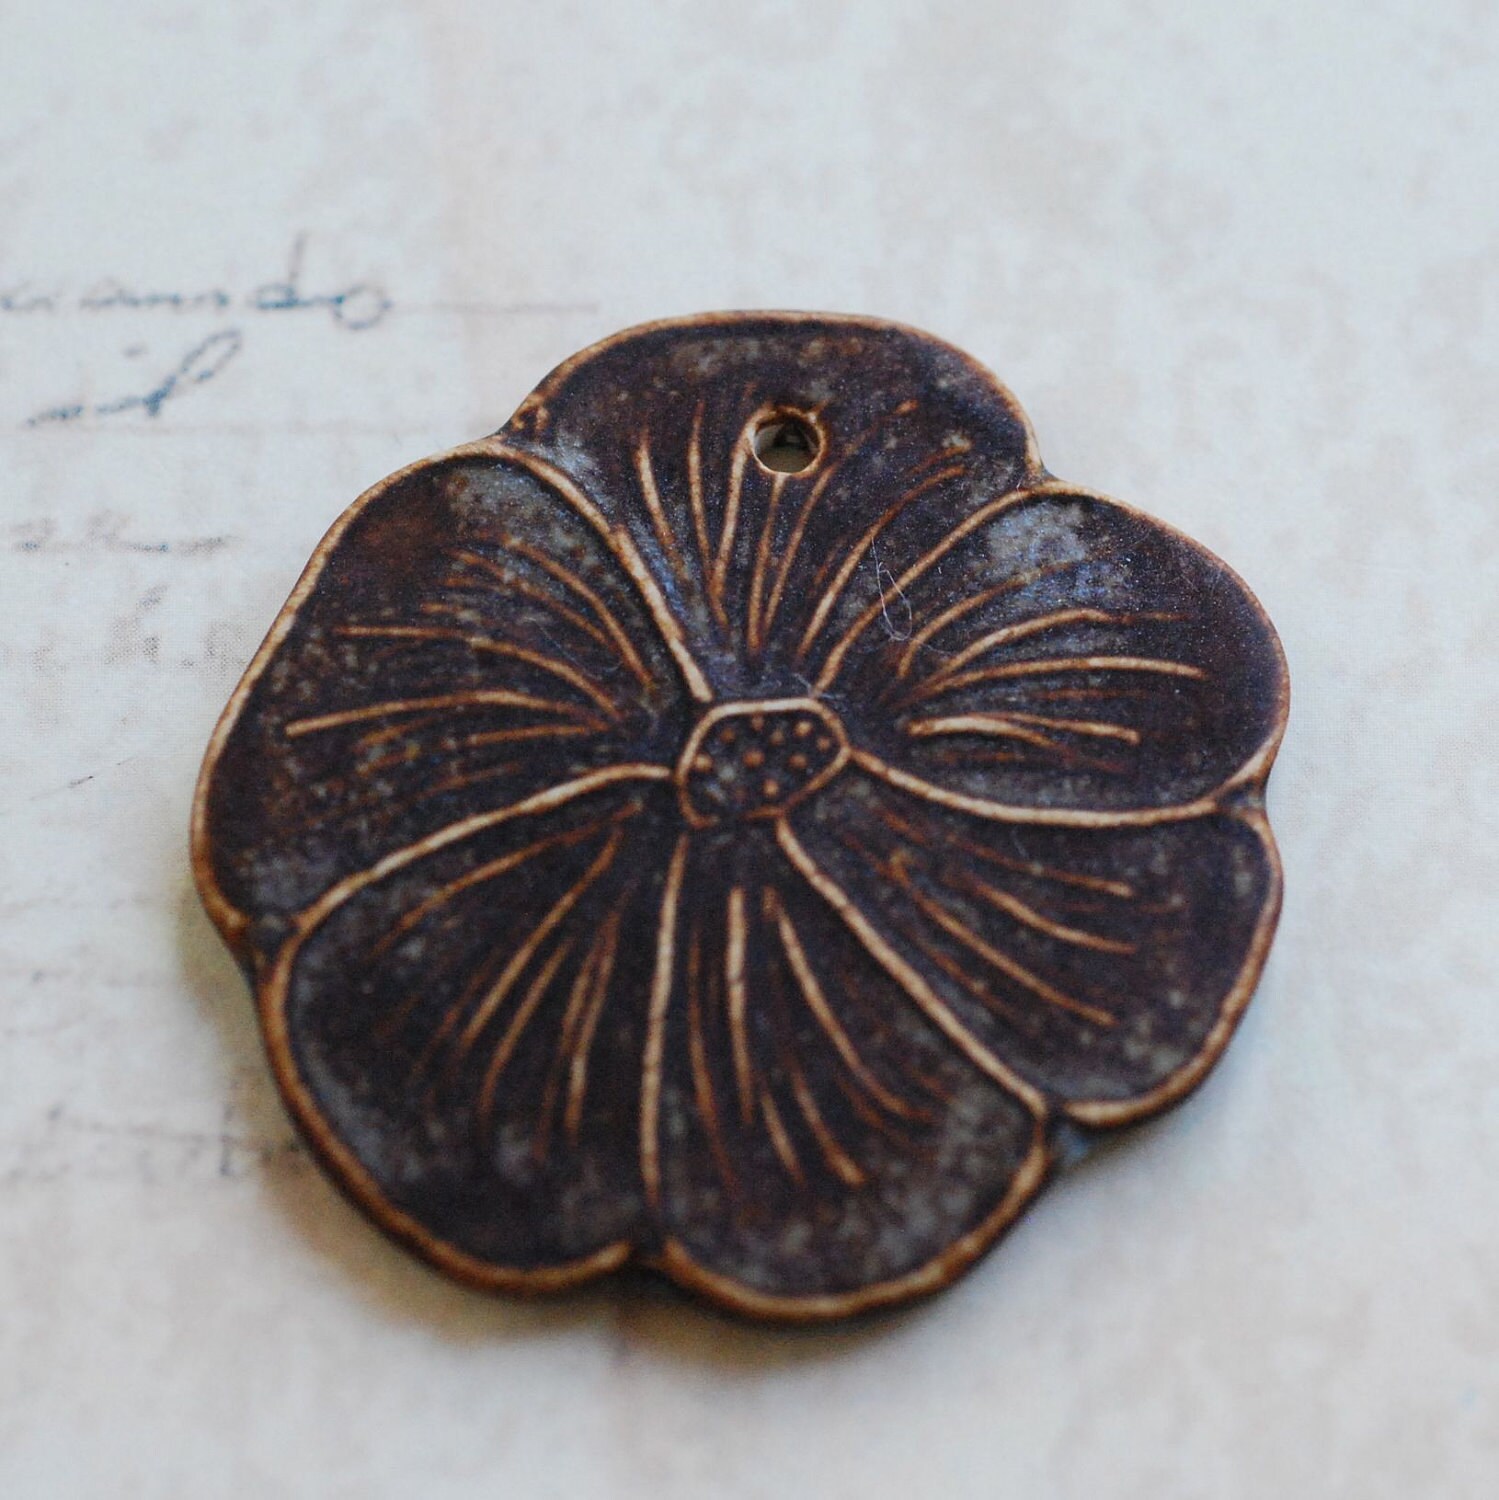
I'm loving these rich colors and the satin matte finish...
This piece above on my fingertips has been etched.
So rich in tones...
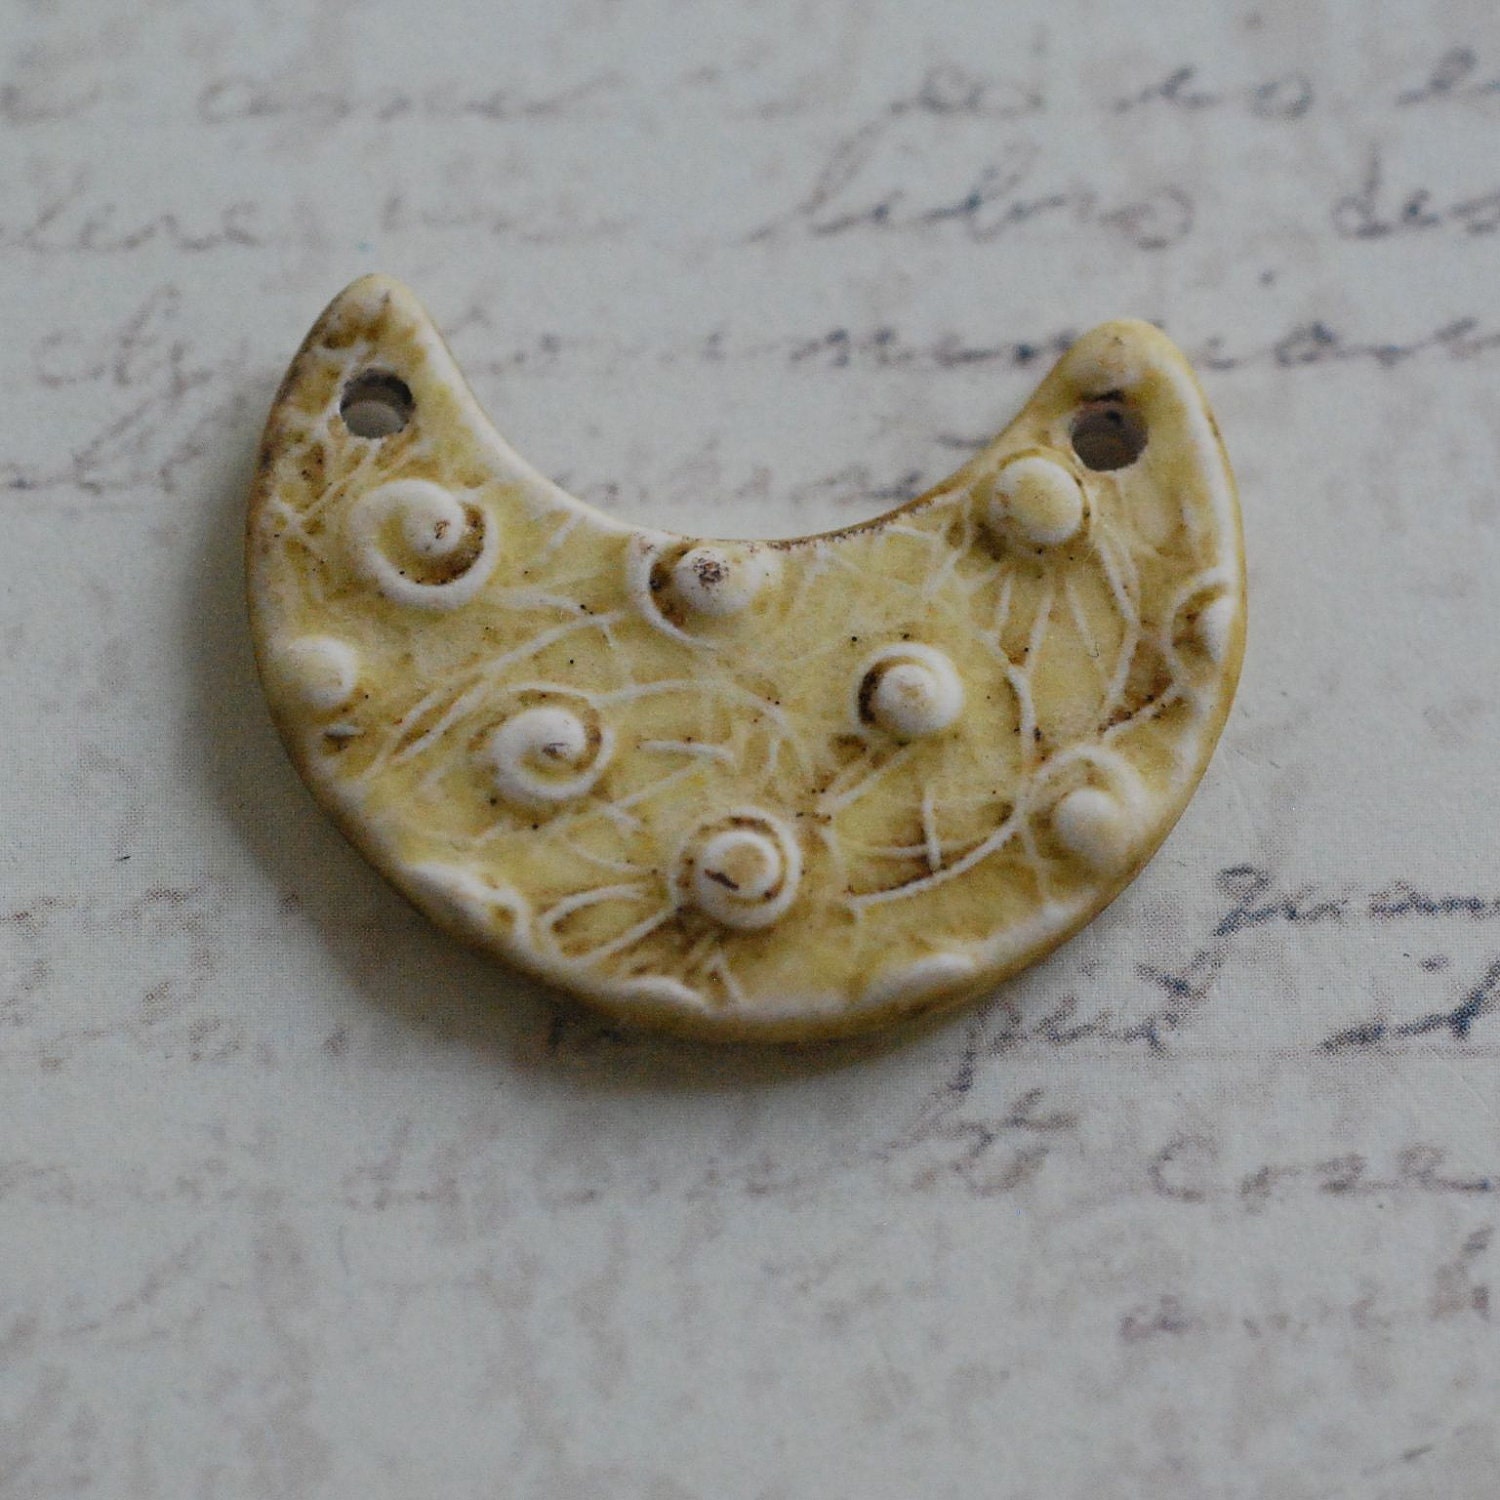
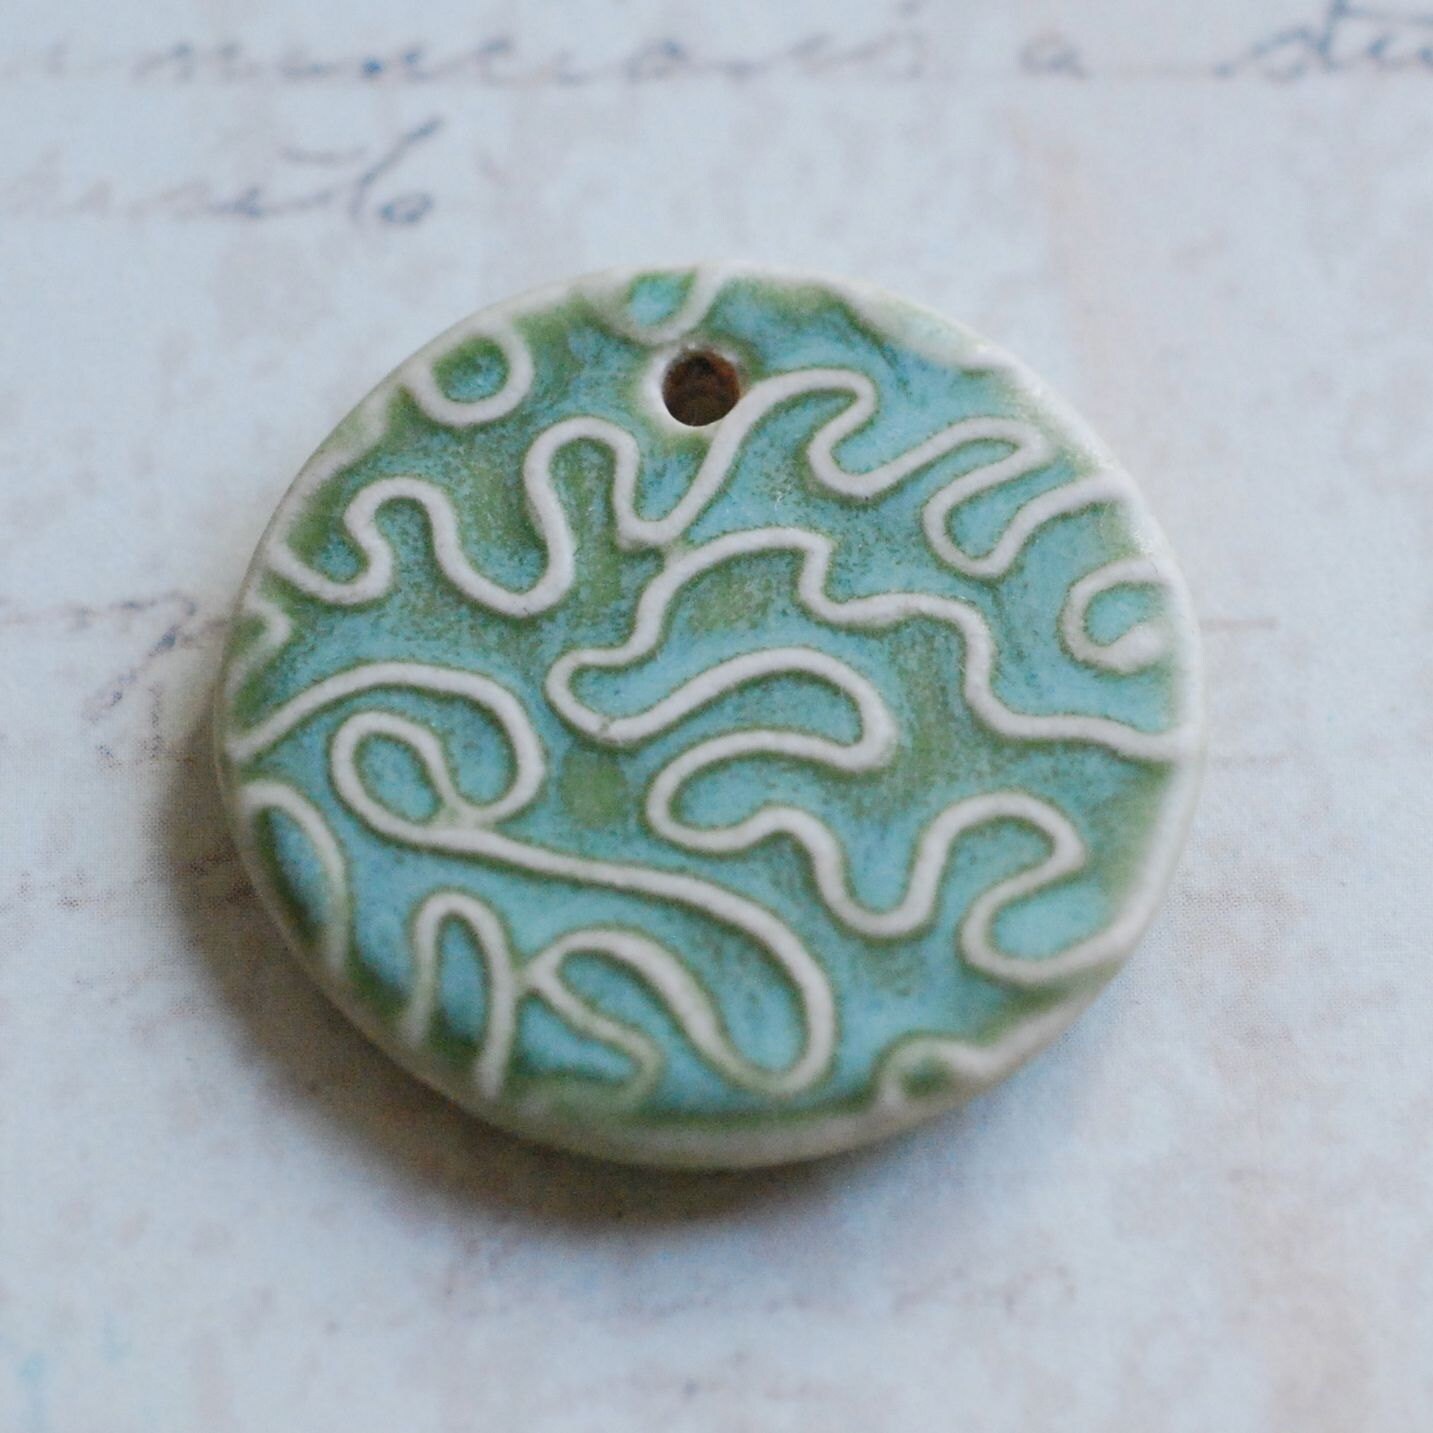
And here it is at 9 o'clock in the above photo before etching...
I'll have more pics of the other pieces above as they were all etched together.
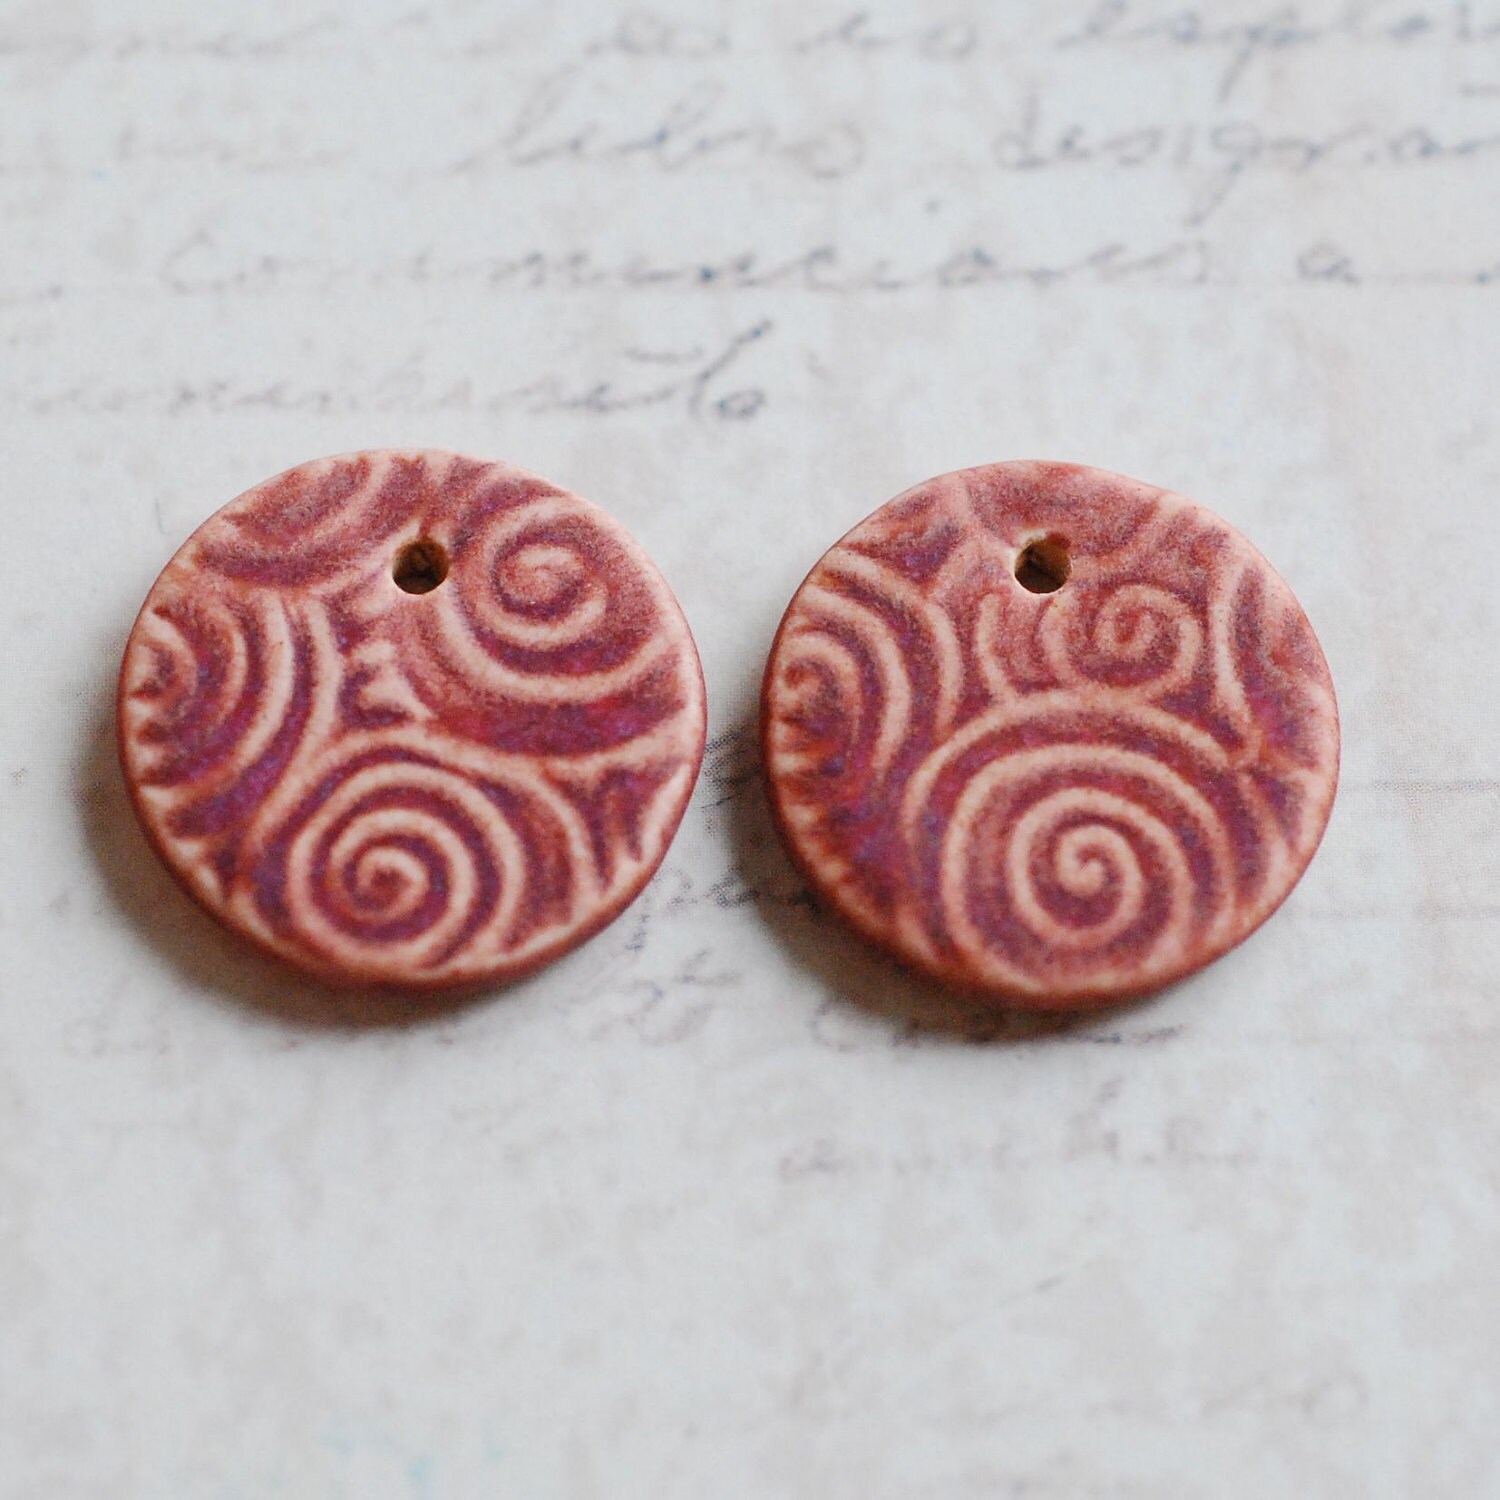
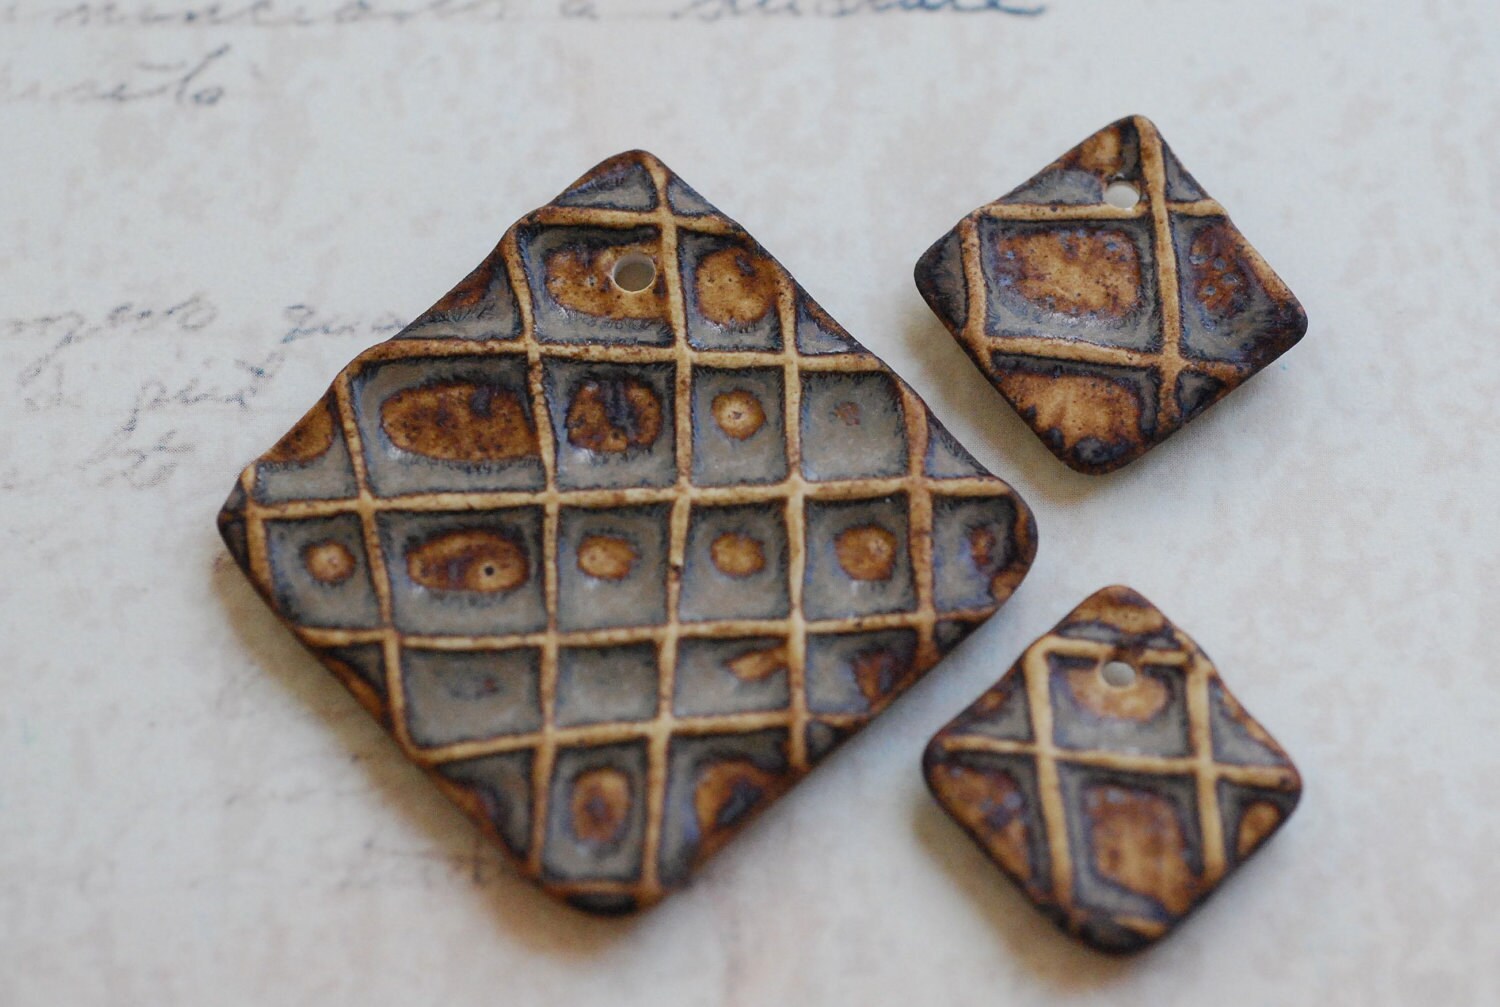
These porcelain paper clay pieces that my friend Kelly Russell (Beadfuddled) created for me for test tiles a few years back - they got etched too...
See them in March 2011: click here.

And now for a little story about Backwards Hop Scotch.
In my family, there is a bit of a running joke about "Marsha-isms"...
Young Marsha overheard a gossip story about people going to see "shrinks":
"Mom, How little are they???"

Well, my daughter has gotten it honestly from me.

The other day I picked her up from school.
She decided to jump on the Hop Scotch rug, jumping on each number in order:
1, 2, 3, 4, 5, 6, 7, 8, 9, 10
She got to the top and did a funny 4 year old happy dance.
Her little brother egged her on "Yay Chloe!!!"
I asked - Chloe, now that you are at the top, can you do it backwards?
Sure Mom!!! I can do it backwards!
Insert more 4 year old squeals & giggles...
I continue: 10, 9, 8, 7, 6, 5, 4, 3, 2, 1... in my funny fast voice encouraging her on...

So at first I think she completely ignored me,
which she somewhat did...
But really she just didn't hear me with all the giggles & squeals going on from both of them...
So she went back to the start - and did this:
1, 2, 3, 4, 5, 6, 7, 8, 9, 10...
And she did it turned backwards!
What a great kid!
She cracks me UP...