
Do you ever wonder what it takes to make something handmade?
What about making a porcelain pendant?
There are a lot of steps involved even before what I'm going to share with you below.
I would like to give you an insight into my process so you can understand that these are all unique handmade creations
(and copyrighted texture plates) and are all little treasures...
 |
| Marsha Neal Studio Hibiscus Cutout Flower In Stormy Night Sky Glaze |
 |
| Marsha Neal Studio's Clay Studio setup for glazing pieces. |
 |
| All I need is a little space to work. |
 |
| Slabs that were rolled out previously - ready to use. |
 |
| Drywall working surface, tools, clay slab, flower texture plates at the ready. |
 |
| Cutting clay slab down to reduce excess clay scraps. |
 |
| Rolling out one pendant onto my texture plate. |
 |
| Many pieces rolled out. Pony rollers need to be dry or clay will stick to them. |
 |
| Top = good print. Bottom = oops, missed a bit (scrap now). |
 |
| Cutting out the pendant by hand. Molds would make this like "work" for me. I actually find the process of making each piece like this very relaxing. |
 |
| The cutting begins. Work in batches so they don't dry out too fast. |
 |
| Kitty litter buckets are great for holding scrap clay that is waiting to be recycled. The next time I mix this clay will be this clay's third time being processed into wet clay. |
 |
| Putting the hole into the pendant. The holes will be drilled out again for a consistent size. |
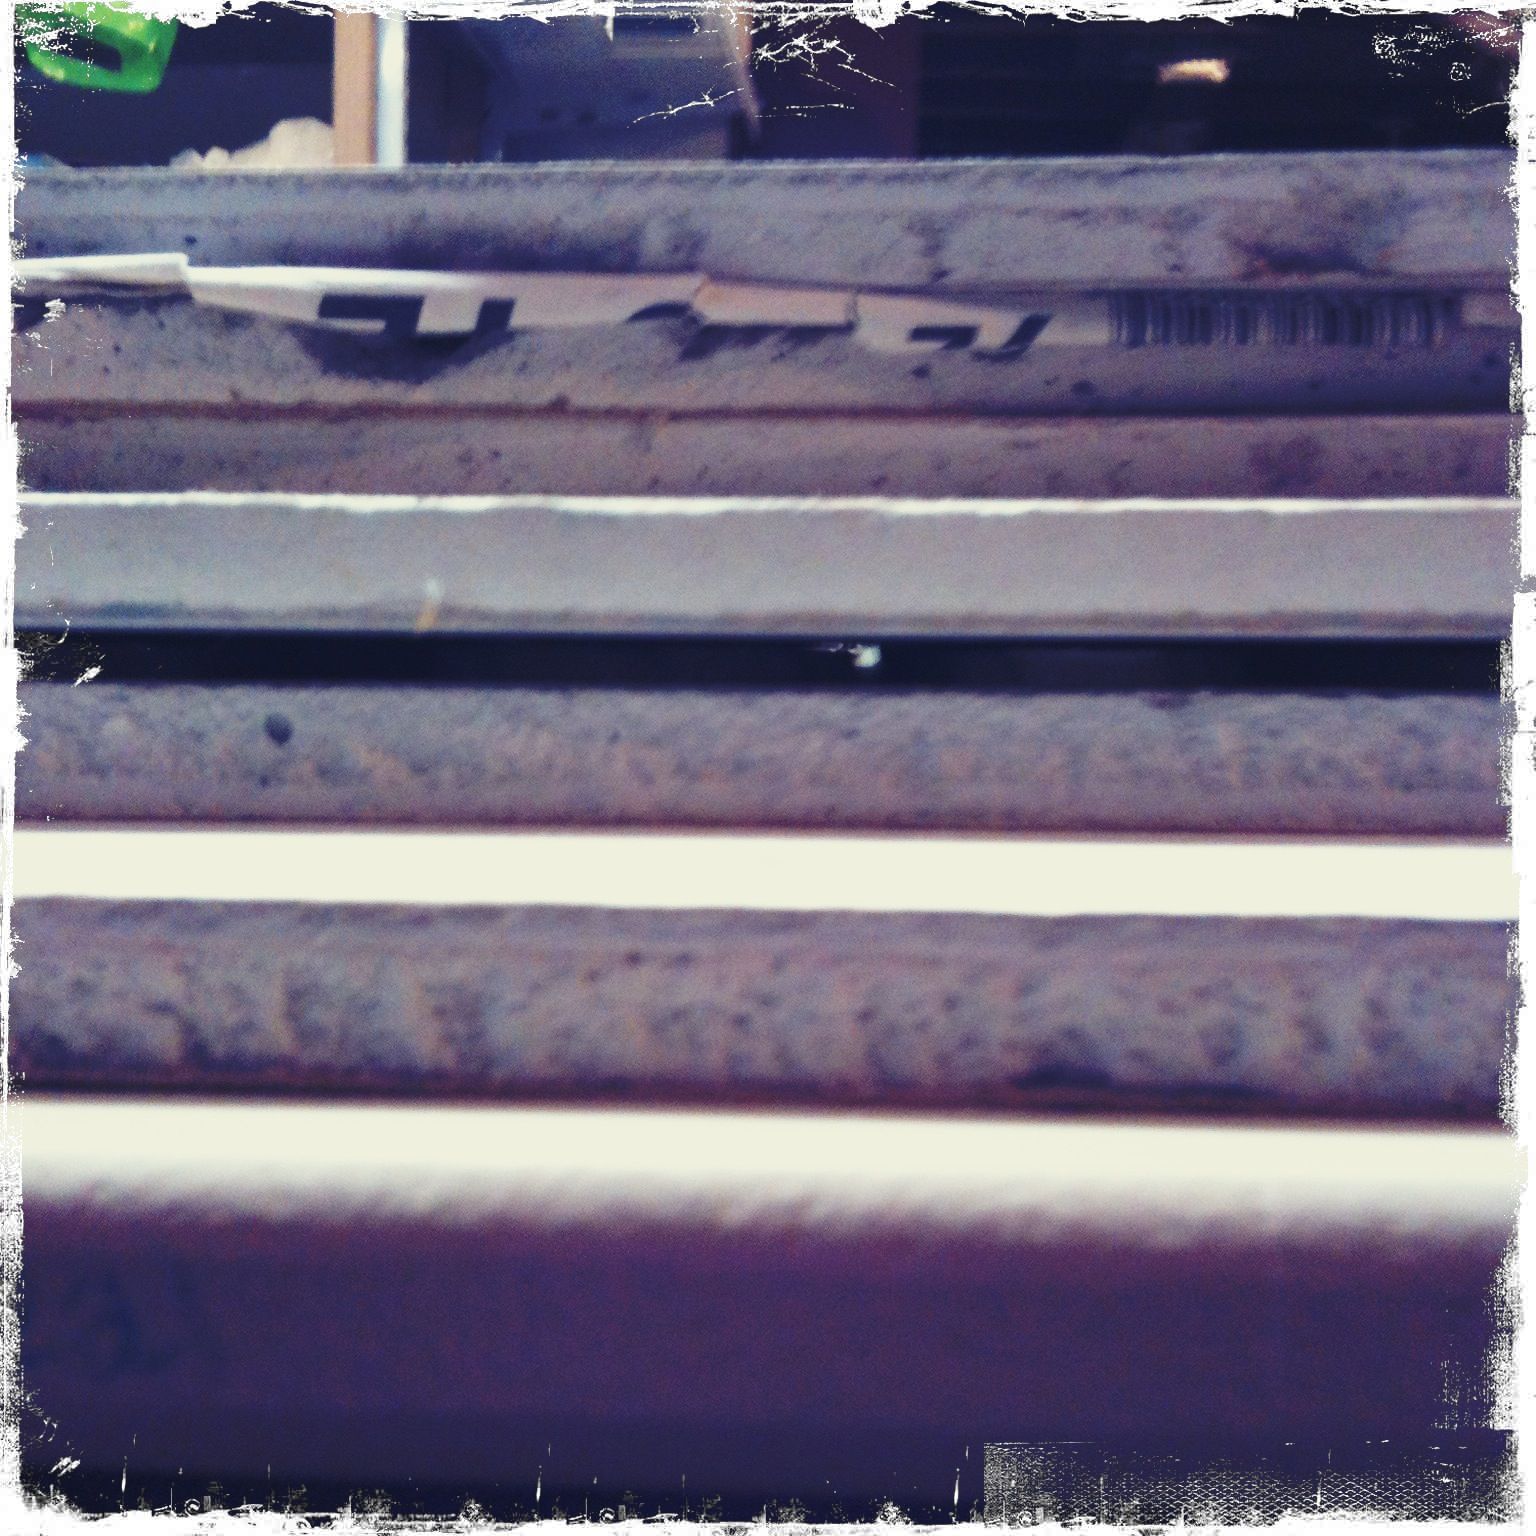 |
| The middle layer with the blackline is the layer where the pendants are. Small scrap pieces of drywall are used to extract the water from the clay, while allowing the pieces to dry flat. |
When I go into the studio tomorrow,
I will sponge all the edges of each piece to make the pendant more refined.
I will drill out the pendant hole.
Then they will be bisque fired in my kiln.
After cooling, they will be glazed (another part I find relaxing!).
Holes will be cleaned, glaze touched up,
then glaze fired on small hooks which are
suspended on bead rods so the entire piece is covered with glaze.

After the kiln cools, the pieces are unloaded & inspected for any defects.
Holes are cleaned once more to make sure there are no sharp edges.
Then the piece is ready for you…
The steps not mentioned here are all the things that come ahead
of this "process" I've established for myself are important things like:
My education (MA in Ceramics).
Experience and level of knowledge and skill.
Understanding how this will be used in a finished product.
Design ideas. Carving out my texture plates. Testing out products & glazes.
Having a space to work - a studio. Having equipment and materials for that studio to function.
Being a person that makes things by hand is actual work.
It may be fun work - when you have time to get in the studio…
Creativity is not easy all the time. I actually enjoy the process as much as the creative part…
Hope you liked this insight.
Please be inspired by this.
Be well informed by this.
And let it lead you to find your own way to work with clay
or whatever material you choose to work with…
And Thank You for supporting Handmade!
Great post, Marsha!
ReplyDeleteI will think of this when I'm wearing one! You do such beautiful work
ReplyDeleteHi Marsha...wow what a lot of work...but the end creation is well worth it they are beautiful...i can't wait to see mine....take care ttfn Lana
ReplyDeleteThank you, Marsha, for doing this. It is awesome to see exactly how you work, to know the whole process. It makes each piece even more special. And I will definitely be telling anyone who buys one of your pieces from me about it! <3 <3 You are so inspiring!
ReplyDeleteThank you, you guys (gals)! I think knowing what goes into a handmade piece takes the meaning of the piece to a whole new level… Even as a kid I love "the process" of anything. I remember watching Mr. Rogers and seeing him go into the coal mines to show where they would get coal from and being fascinated! I think you guys probably love that kind of stuff too :) Thank you again for all your continued support of my work! I'm delighted that you will be owners of some of them...
ReplyDeleteImpressive Marsha! You got it down girl. Thank you for sharing. And that glaze on the top piece is lovely!
ReplyDeleteThank you for seeing your process. After seeing all it takes, to make I appreciate your skill even more!!
ReplyDeleteHow cool! I just LOVE seeing the process that an artist uses. Great post, Marsha.
ReplyDeleteI love these - wonderful colours and design.
ReplyDeleteBeing a mosaic artist I sometimes use broken plates (pique assiette) and pottery in my work. I wanted to make some special pieces, so I took several pottery courses and it gave me such a appreciation for all the work and wonderful creativity involved in ceramics. Joann D. PS: luv these flowers!
ReplyDelete